
In this post, I will talk through how to install Nginx as a reverse proxy and configure SSL for free with the help of Let’s Encrypt and Docker. I will be using DigitalOcean, but any Linux machine with Docker installed will also work.
So, What is Nginx reverse proxy?
If you have not come across Nginx, it is a web server similar to many other common web servers such as IIS and Apache HTTP server. It can also act as a reverse proxy. In short, a reverse proxy is just a way of collecting all the incoming requests and forwarding them onto internal servers.
Do I need Nginx as a reverse proxy for ASP.NET Core?
Yes and no. You don’t necessarily need Nginx, but it is recommended when serving content publicly. ASP.NET Core ships with Kestrel which is a cross platform web server. So, you could just use Kestrel alone. However, you won’t get the added benefits of a web server such as IIS, Apache or Nginx where it can handle HTTP requests, caching, HTTP logging, and SSL. You can read more about Kestrel web server implementation in ASP.NET Core from Microsoft and also Host ASP.NET Core on Linux with Nginx.
How to install Nginx with Let’s Encrypt
I will using the Docker Compose Let’s Encrypt Nginx proxy companion GitHub repository, which I have forked from JrCs. I found it very useful as it tends to speed things up significantly with the help of some scripts. At its core, it will be using jwilder’s nginx proxy. The GitHub page can be found here which is rather useful as well.
For SSL settings, you will need a valid domain name as Let’s Encrypt requires a valid domain name in order for it to generate valid certificates. Let’s Encrypt also generate certificates with an expiry date of 90 days. Why you may ask? The short answer is, for security reasons. You can read more about why 90 days from Let’s Encrypt themselves.
With the benefit of the jwilder’s nginx proxy in docker, it will handle the renewal of certificates automatically which is great.
Summary of steps:
- Git clone the docker compose lets encrypt nginx proxy companion repository.
- Configure settings such as ip address, and docker logging settings.
- (Optional step) Modify the nginx config so that we can log ip addresses and prevent spam traffic with fail2ban - more on this later.
- Execute the script to create the Nginx companion docker container.
- Finally ,launch a sample website to demonstrate that SSL is enabled and working.
Clone the Let’s Encrypt Nginx Proxy Companion repository
- Login into your Linux machine.
- Create two folders. You are free to create your own, these are just to organise things.
mkdir /home/setup
mkdir /home/deploy
- Navigate to
/home/setupand clone the git repo:
cd /home/setup
git clone https://github.com/ch-lee/docker-compose-letsencrypt-nginx-proxy-companion.git
Configuring the .env file
- Setup env file by copying the sample to .env
cp .env.sample .env
- edit env file
nano .env
- Configure the
.envfile so it looks like so:
#
# Your external IP address
#
IP=0.0.0.0

#
# NGINX file path
#

NGINX_FILES_PATH=/home/nginx/data


#
# NGINX use special conf files
#
USE_NGINX_CONF_FILES=true

#
# Docker Logging Config
#
NGINX_WEB_LOG_MAX_SIZE=4m
NGINX_WEB_LOG_MAX_FILE=10

NGINX_GEN_LOG_MAX_SIZE=2m
NGINX_GEN_LOG_MAX_FILE=10

NGINX_LETSENCRYPT_LOG_MAX_SIZE=2m
NGINX_LETSENCRYPT_LOG_MAX_FILE=10
Yes, leave the external IP address as IP=0.0.0.0. You can try adding the external ip, but I found leaving it as it is works for me.
- Edit
conf.d/realip.conf
nano conf.d/realip.conf
If you are not using Cloudflare, then use these settings:
#
# Basic settings
#
# The option 'set_real_ip_from'
# must correspont to your docker network address
set_real_ip_from  172.18.0.0/32;
real_ip_header    X-Real-IP;
real_ip_recursive on;
If you are using Cloudflare, then use the following:
#
# CloudFlare settings
#
# If you CloudFlare and want to forward the
# user's real IP to your app services you
# must uncomment all lines below and be sure
# to comment the lines of the "Basic settings"
set_real_ip_from 103.21.244.0/22;
set_real_ip_from 103.22.200.0/22;
set_real_ip_from 103.31.4.0/22;
set_real_ip_from 104.16.0.0/12;
set_real_ip_from 108.162.192.0/18;
set_real_ip_from 131.0.72.0/22;
set_real_ip_from 141.101.64.0/18;
set_real_ip_from 162.158.0.0/15;
set_real_ip_from 172.64.0.0/13;
set_real_ip_from 173.245.48.0/20;
set_real_ip_from 188.114.96.0/20;
set_real_ip_from 190.93.240.0/20;
set_real_ip_from 197.234.240.0/22;
set_real_ip_from 198.41.128.0/17;
set_real_ip_from 2400:cb00::/32;
set_real_ip_from 2606:4700::/32;
set_real_ip_from 2803:f800::/32;
set_real_ip_from 2405:b500::/32;
set_real_ip_from 2405:8100::/32;
set_real_ip_from 2c0f:f248::/32;
set_real_ip_from 2a06:98c0::/29;
real_ip_header X-Forwarded-For;
Configure DNS and CAA on your domain
With your domain name server, in my case, I am using Cloudflare, you will need to configure CAA records. Certificate Authority Authorization (CAA) is a way for a Certificate Authorities (CA) in this case, Let’s Encrypt, issue certificates for a domain. Think of it as a way of providing permission for Let’s Encrypt to generate certificates for your domain.
- Login into Cloudflare and selects “DNS”
- Enter a CAA record like shown below

For more information you can checkout the Cloudflare website about configuring CAA records
Modifying the Nginx config file (optional)
This step is entirely optional. When I first installed Nginx and inspected the logs, I discovered a lot of noise traffic. So I installed fail2an. However, in order to configure it to match certain incoming “rogue” traffic it requires inspecting Nginx logs and pattern matching. The only way I was able to achieve this was to modify how Nginx logs the ip address, hence the following steps.
- Edit the
start.shfile, and comment out the curl download statement by adding a#as we will download it ourselves, like so:
# 4. Download the latest version of nginx.tmpl
#curl https://raw.githubusercontent.com/jwilder/nginx-proxy/master/nginx.tmpl > nginx.tmpl
- Manually execute the curl command to obtain a copy of
nginx.tmpl
curl https://raw.githubusercontent.com/jwilder/nginx-proxy/master/nginx.tmpl > nginx.tmpl
- Edit
nginx.tmplso that the logging format by Nginx will output the client ip address first. This means moving$hostjust before[$time_local]. This is usual when coming to install fail2ban which will help ban spam traffic.
nano nginx.tmpl
Tip: You can search in nano by pressing F6 .
Before:
log_format vhost '$host $remote_addr - $remote_user [$time_local] '
                 '"$request" $status $body_bytes_sent '
                 '"$http_referer" "$http_user_agent"';
After:
log_format vhost '$remote_addr - $remote_user $host [$time_local] '
                 '"$request" $status $body_bytes_sent '
                 '"$http_referer" "$http_user_agent"';
Create a Docker Network
- Create a network in docker called ‘webproxy’
docker network create webproxy
- Verify the
webproxynetwork is created by running:
docker network list
You should see something like this:
NETWORK ID          NAME                DRIVER              SCOPE
97a4030bc3d9        bridge              bridge              local
c4a454c79666        host                host                local
661740c991bb        none                null                local
187677e1bbdc        webproxy            bridge              local
Start the Containers
- Finally, we can run the script.
./start.sh
Note: If you get the error:
-bash: ./start.sh: /bin/bash^M: bad interpreter: No such file or directory
Then you try running the following:
sed -i -e 's/\r$//' start.sh
- Check if the docker container is running:
docker ps
You should see something like this:
CONTAINER ID        IMAGE                                                                  COMMAND                  CREATED             STATUS              PORTS                                      NAMES
53c111532780        jwilder/docker-gen                                                     "/usr/local/bin/dock…"   4 months ago        Up 4 months                                                    nginx-gen
2bed0d179409        nginx                                                                  "nginx -g 'daemon of…"   4 months ago        Up 4 months         0.0.0.0:80->80/tcp, 0.0.0.0:443->443/tcp   nginx-web
9c08b9876f6c        jrcs/letsencrypt-nginx-proxy-companion                                 "/bin/bash /app/entr…"   4 months ago        Up 4 months                                                    nginx-letsencrypt
Notice that there are 3 containers. The two main containers that will be of interest are nginx-web and nginx-letsencrypt. The container nginx-web is the underlying Nginx Proxy and the nginx-letsencrypt container is responsible renewing the LetsEncrypt certificates when they are expiring.
For more information and further reading feel free to checkout with regards to these docker images, do checkout the following repositories:
https://github.com/JrCs/docker-letsencrypt-nginx-proxy-companion https://github.com/jwilder/nginx-proxy
Putting it all together
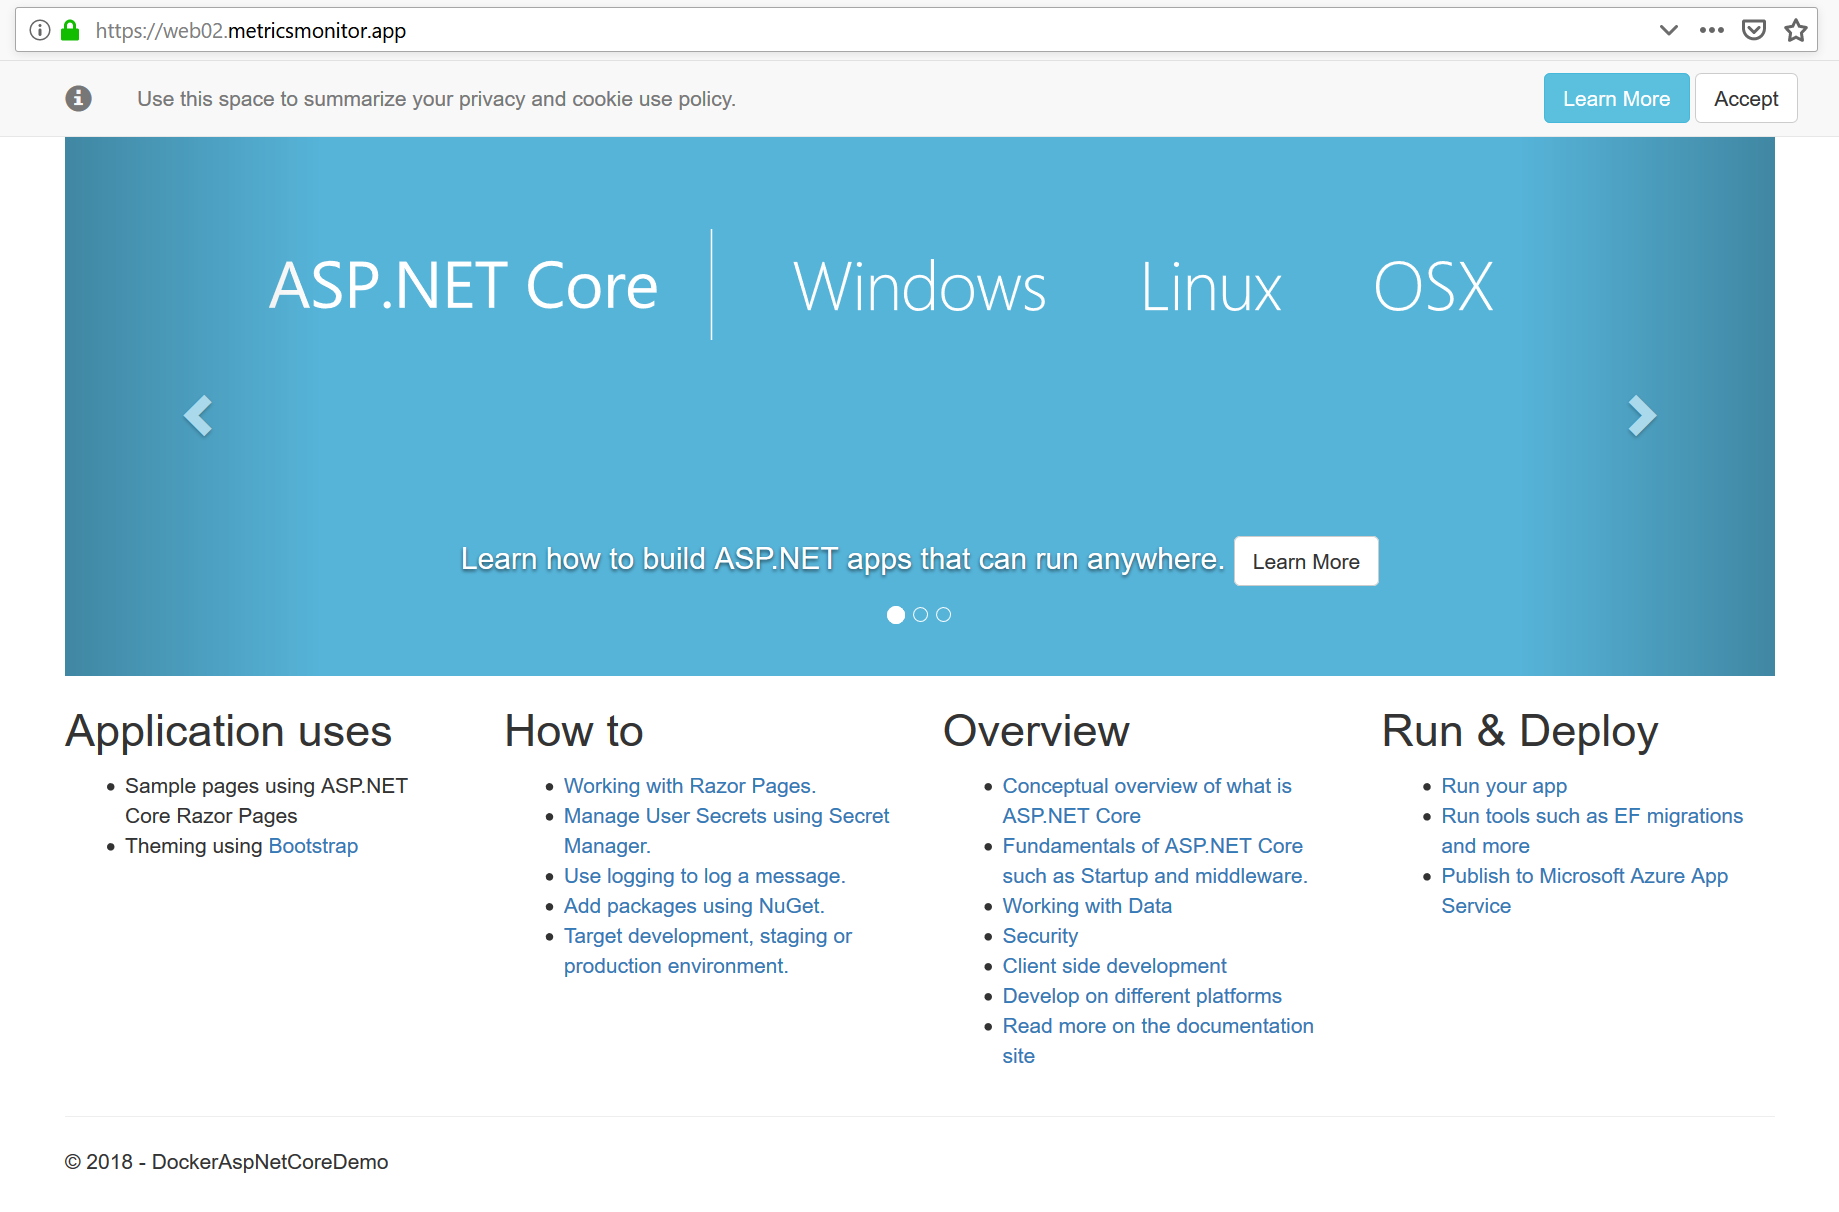
Now that we have the Let’s Encrypt Nginx Proxy Companion docker containers running, I will be using the aspnetcoredemo app from Github to demonstrate how to launch a website.
Below is a sample yaml file.
version: '3'

services:
  aspnetcoredemo:
    image: registry.gitlab.com/ch-lee/aspnetcoredemo:latest
    environment:
      - VIRTUAL_HOST=www.yourdomain.com
      - LETSENCRYPT_HOST=www.yourdomain.com
      - [email protected]

networks:
  default:
    external:
      name: webproxy
The important areas to focus on are the 3 environment variables. Be sure to add these 3 environment variables so that the Let’s Encrypt Nginx proxy containers are able to determine the url to generate the certificate.
Just change the VIRTUAL_HOST and LETSENCRYPT_HOST to your domain and be sure that LETSENCRYPT_EMAIL is a real email address as LetsEncrypt will attempt to email you when the certificate expires. But now that we have Let’s Encrypt Nginx proxy containers installed, these will be renewed automatically.
Also, the networks section is important. This is required so that the existing docker containers all belong to the same network.
And heres the outcome:
Summary
In this post I demonstrated how to use the setup Nginx reverse proxy along with Let’s Encrypt using the docker Let’s Encrypt Nginx Proxy Companion. I’ll admit, its a rather long setup, but its one of those things that once its setup, its all done.